Mechanical
ECS clearly separates the data and the logic operating on that data. This logic in turn is usually executed on an iterative per-frame basis. Apparatus implements this animation-like functionality via a concept called Mechanical. Mechanicals are complex in nature and comprise multiple Mechanics that are executed inside of them.
C++ Workflow
If you’re going the C++ way, creating your Mechanicals goes like this.
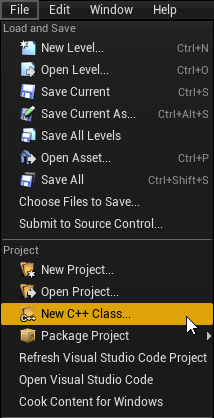
- Open the main UE File menu and choose the “New C++ Class…” option:
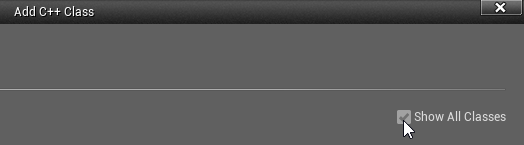
- In the opened window mark the “Show All Classes” checkbox:
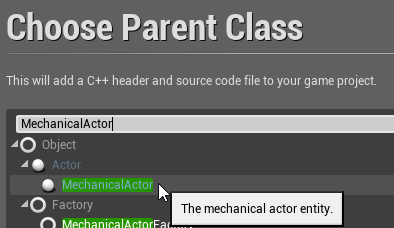
- Now you can select any of the base classes available including the Apparatus ones. Choose the Mechanical Actor as a base class:
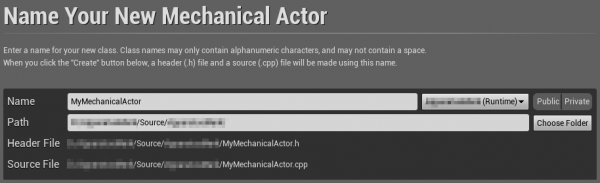
- Click “Next” and you should see a name choosing dialog. Adjust the name of the class as needed and proceed by pressing the green “Create Class” button at the bottom:
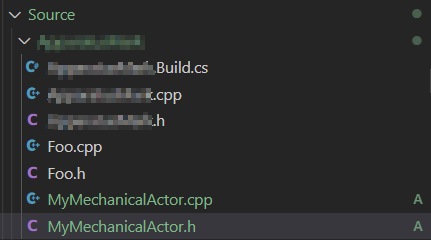
- The new class gets created as a combo of its header (.h) and a source file (.cpp). All in the Source (sub)folder of your project. You should now see them in the IDE of your choice:
- Note that you may have to recompile the project and/or restart the Editor after that. Don’t be scared by some possible errors here, regenerate the IDE project, rebuild and start again.

- The corresponding file contents should be as:
MyMechanicalActor.h:// Fill out your copyright notice in the Description page of Project Settings. #pragma once #include "CoreMinimal.h" #include "MechanicalActor.h" #include "MyMechanicalActor.generated.h" /** * */ UCLASS() class MY_API AMyMechanicalActor : public AMechanicalActor { GENERATED_BODY() };MyMechanicalActor.cpp:// Fill out your copyright notice in the Description page of Project Settings. #include "MyMechanicalActor.h"
- Now you can override a single (or multiple) Tick method(s) as you usually would do in C++…
- … in the header:
void Tick(float DeltaTime) override;
- … and the source file:
void AMyMechanicalActor::Tick(float DeltaTime)
{
    // Your mechanical code here...
}